
Decorating our Home - Before and After
In my previous post about purchasing our first home, I promised to show you some before and after photos! Now before you go off in the comments with questions about where our furniture is from or which paint colours we used etc., these questions will be answered in a future post - I promise! But for now, enjoy these photos of what we have been working on over the last few years! I apologize in advance for the grainy before photos - three years ago I didn't expect them to appear anywhere but my own computer!
Entryway: Before
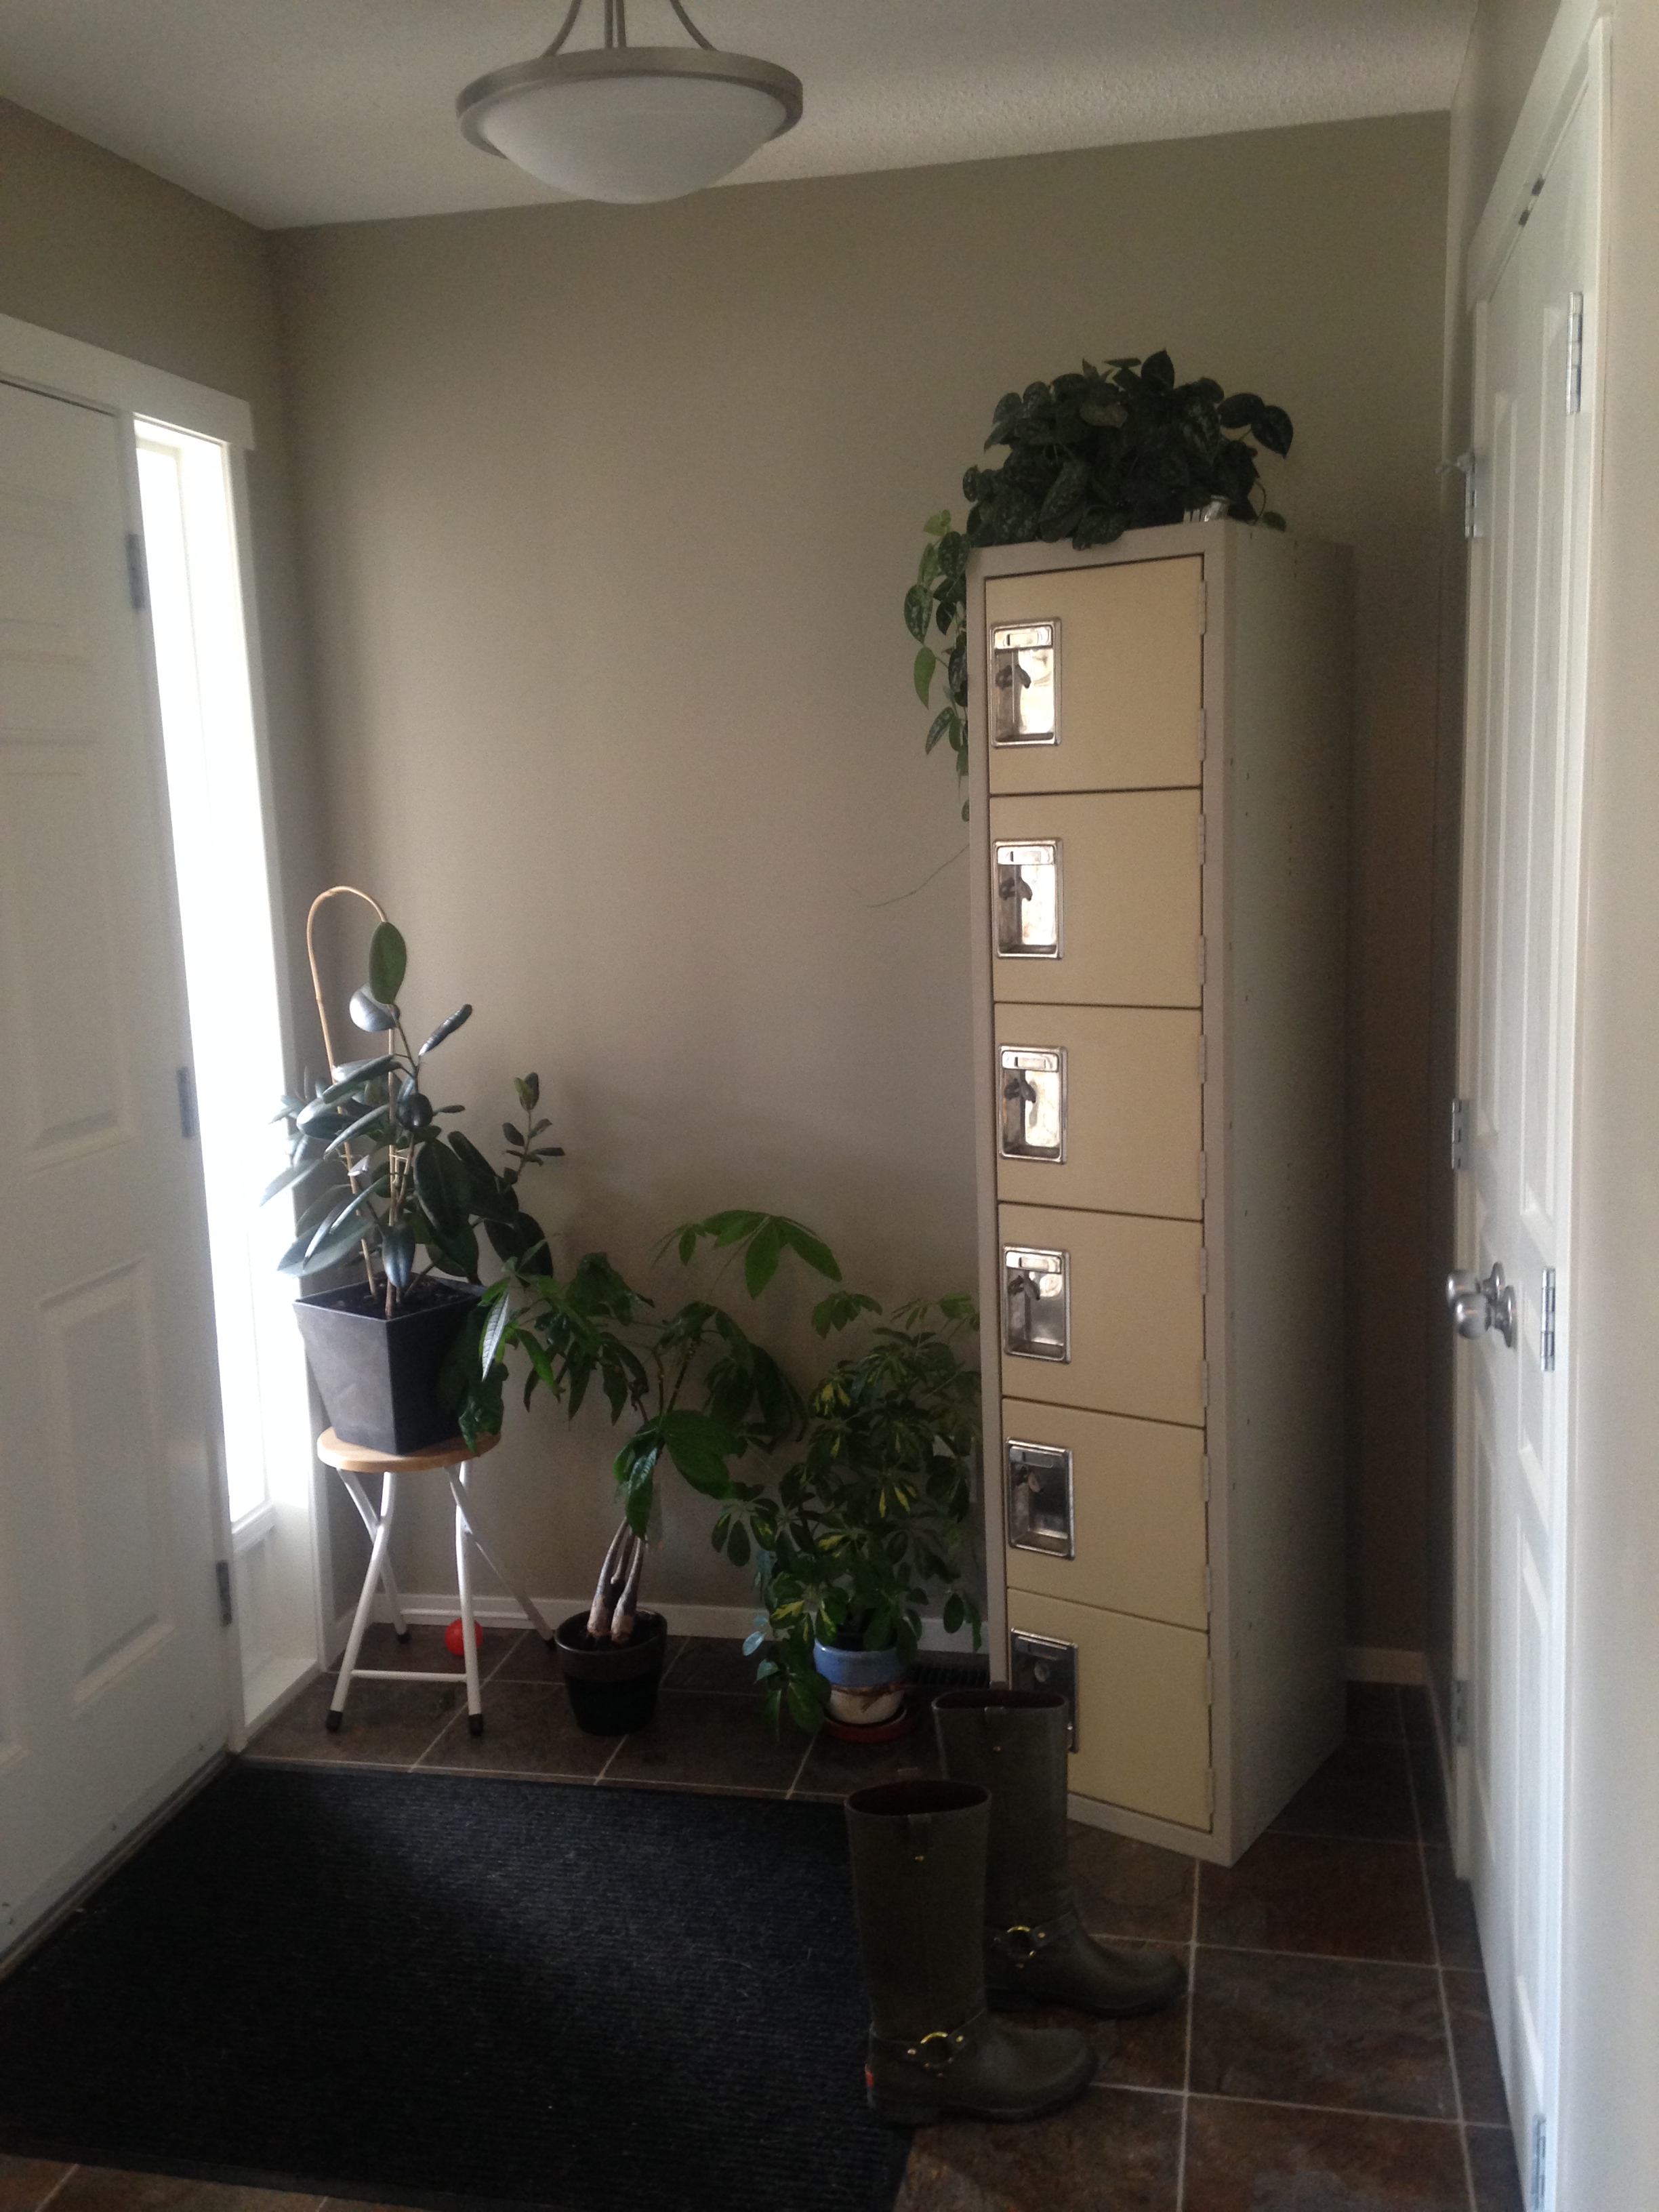
After:

We painted the walls white and the door grey, and Hubs made a DIY plank wall that we white-washed. We also built an entry table that was thin enough to have the door swing open without it being a problem! We now have a functional space for when company comes, they can place their items on the table and easily come in and out without bumping into anything! (If you'd like a how-to DIY blog post on anything in this blog leave a comment below!)
Tech Room Office: Before

After:

Again with the DIY Hubs projects, he built me these custom made rustic industrial looking shelves that really gives it flair and helps tie in all the rustic touches we've added to the house! We added a white desk from Ikea which really helps for storing all the kid's art supplies and added a rustic industrial chair to complete the look!
Living Room: Before

After:

We painted the walls white and purchased a HUGE white rug to lighten up the room. To give the room some warmth we added a stained maple mantle and an electric fireplace. Finishing the look we added some accent chairs on either side to frame the fireplace and a large grey sectional opposite them to bring the room to life! One day we would love to rip up the carpet and lay hardwood on the entire first floor, but that's a bit in our future! For now, we are enjoying the brightened space and all the natural light the 7-foot front window brings in.
Kitchen: Before

After:

We took our drab and very dark brown kitchen, replaced the fridge and kitchen faucet and gave our cupboards a nice few coats of paint (don't ask my hubby about this project... definitely his least favourite of the house!). After that was complete we painted the walls a nice light grey and built a DIY rustic valence above the 7-foot window to give the space some warmth and dimension. Lastly, we replaced the track lighting with pot lights (thanks, electrician hubby) and changed out the pendant lights above the island. We still need to replace the countertops when finances allow but I am so happy that it is now a bright and welcoming space! We entertain company at least once a week and often we can be found wrapped around this U shaped kitchen which is one of my favourite features. I couldn't be happier with this huge transformation!
Dining Area: Before
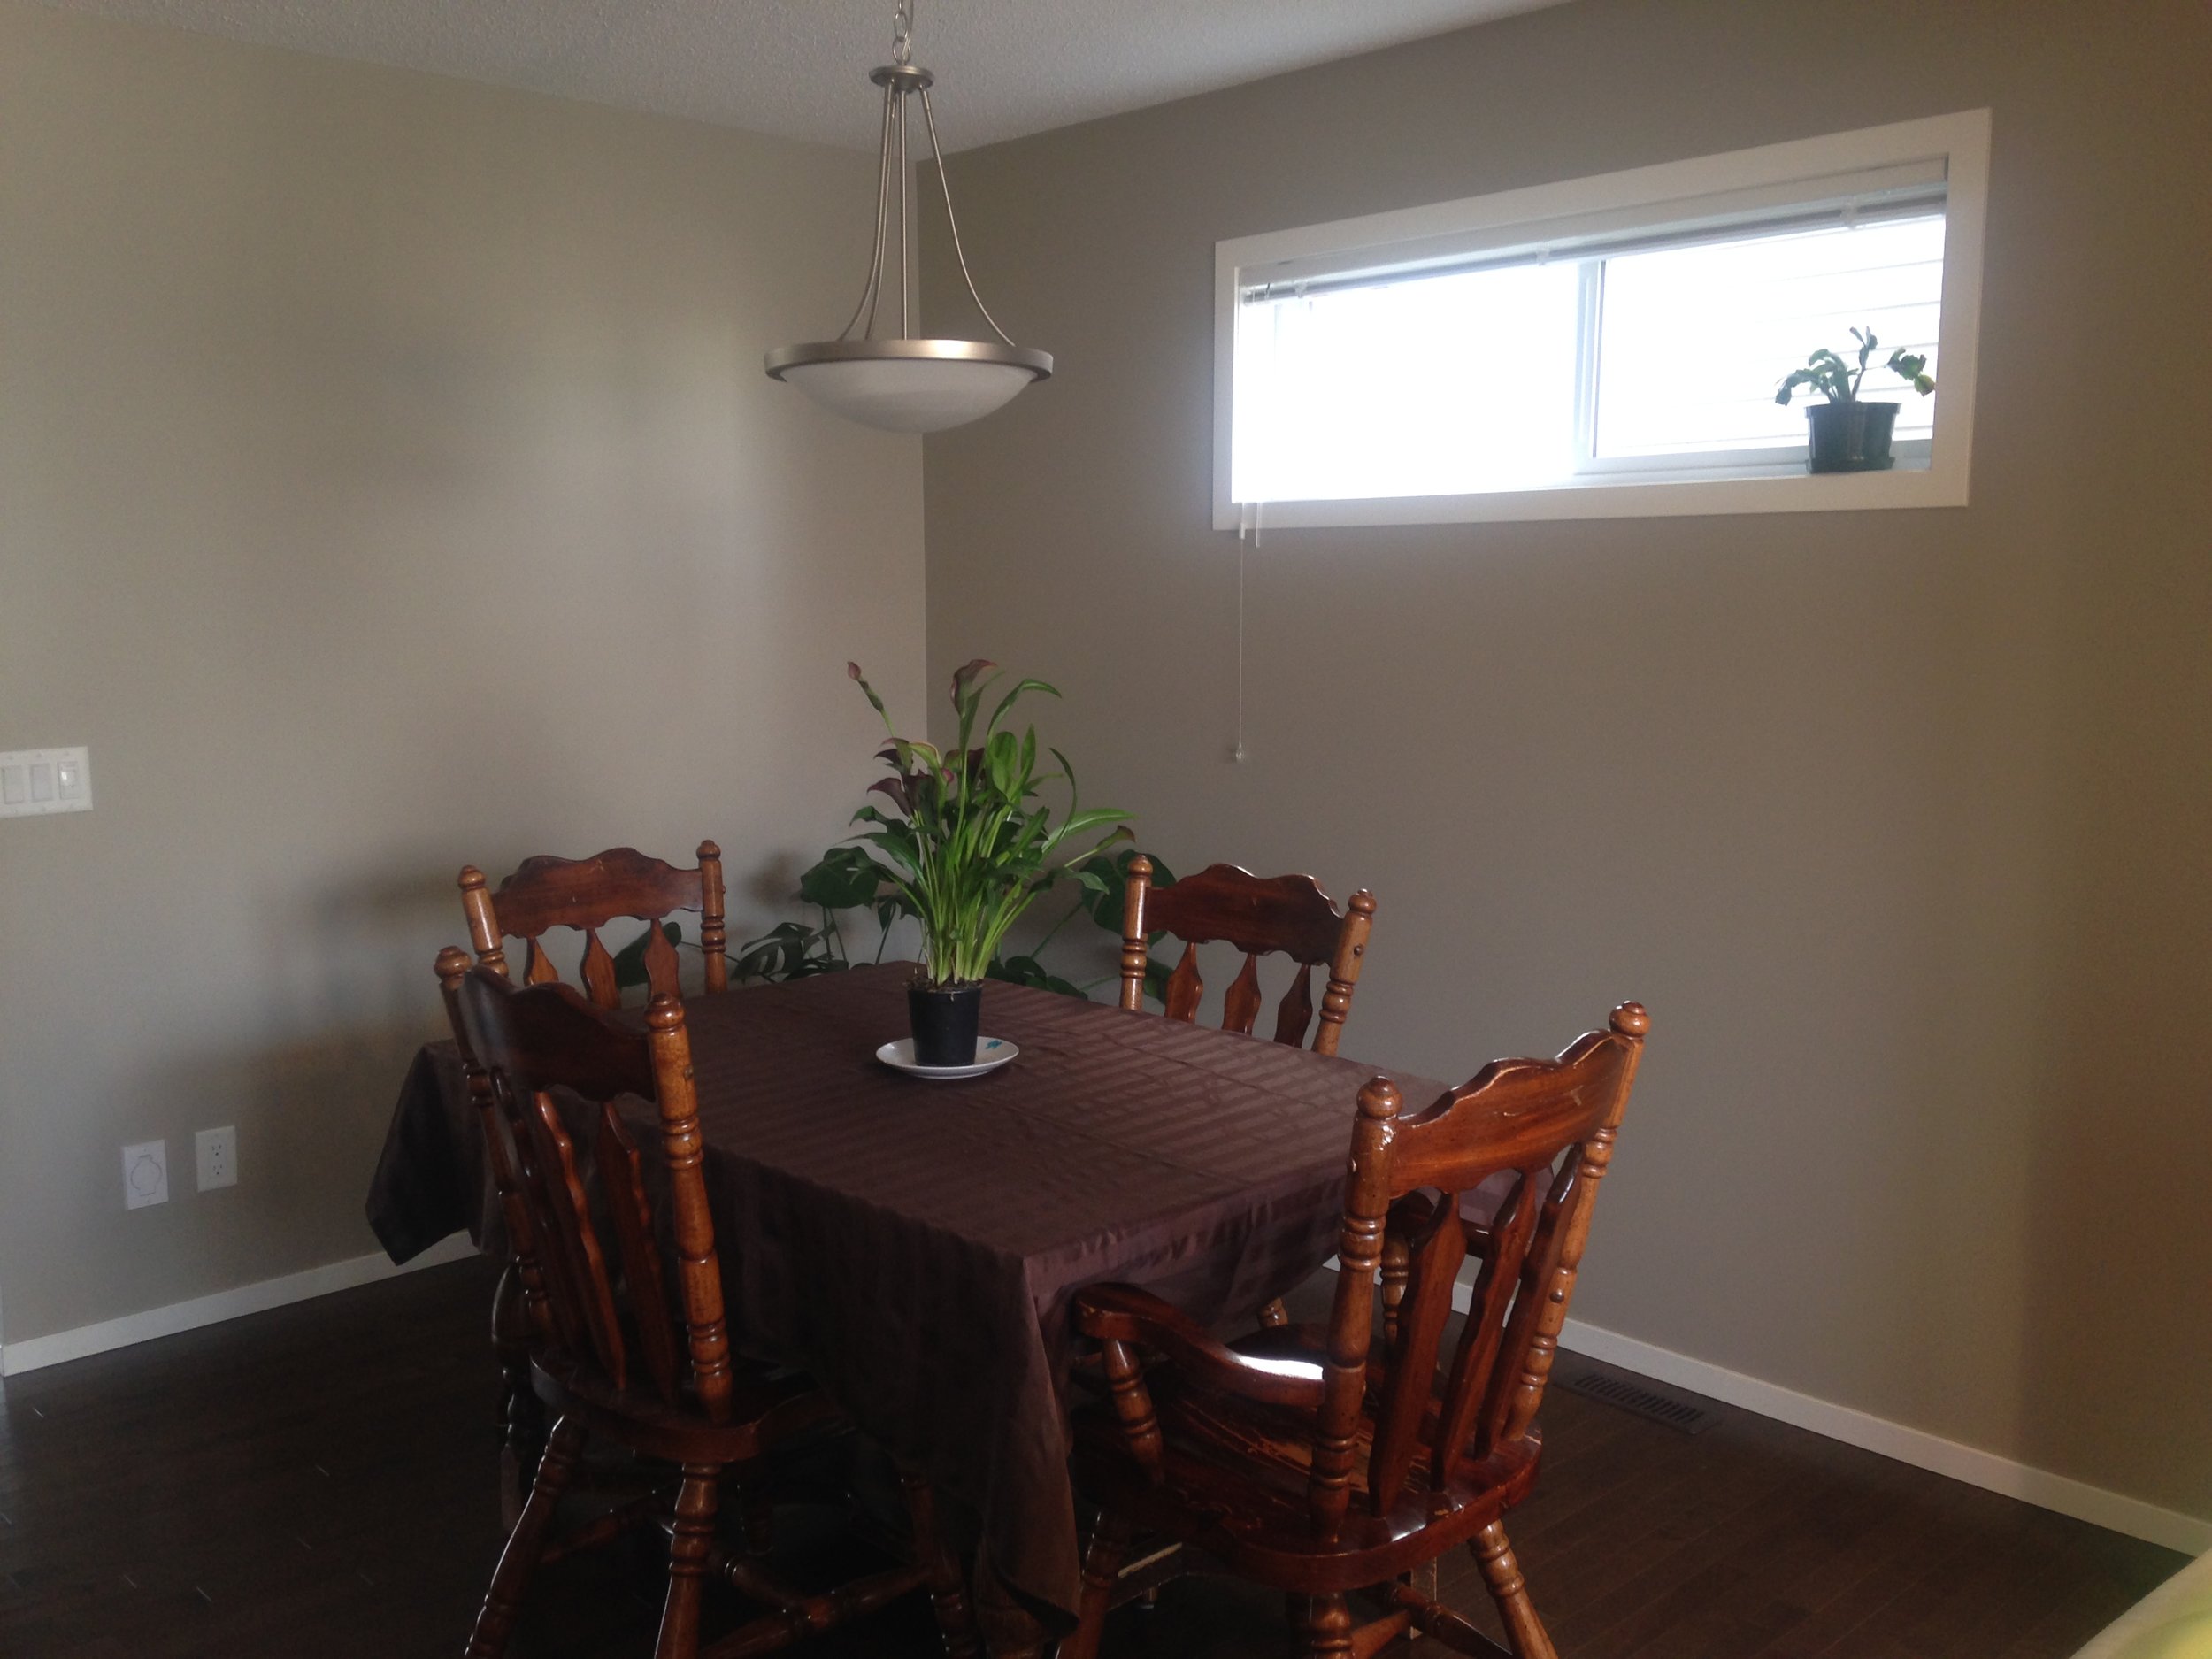
After:

This area didn't need much changed except for the paint, however, we ended up changing far more! My vision came to life when we created a coffee counter for Hubs and I to enjoy and also hung an Ikea cupboard for the boys to put all their table actives in! Win win win! We spend SO MUCH TIME in this part of our house and enjoy coffee way too much, I couldn't be happier with how this area turned out! Again, if you'd like to see a DIY coffee wall such as ours, leave a comment below!
Master Bedroom: Before

After:

The family that lived in this home before us had four children and clearly needed every square inch of space they could use! Again with the white walls and white carpet, we managed to make this room look way bigger and brighter than ever! If anyone has followed me for a while you'll know this room has changed a few times since we've moved in, however after many trial runs we have now found our dream setup and couldn't be happier! Our queen size bed from Structube really makes the statement on the feature wall as well as the signs framing the bed from William Rae Designs (@willliamraedesigns on Instagram) which we LOVE. We found these old nightstands on Kijiji and gave them a makeover and we love how they turned out! Can you tell we love our DIY projects?
Bathroom: Before

After:

This transformation again is quite astounding, although we only have changed a few things! We painted the cupboards a beautiful light grey, painted the walls white and added a new valence light to modernize the look! Hubs custom built the countertop which both brightens the space and makes it look modern on a tight budget! We still have plans to put shelving behind the toilet for some extra jazz.
We have made so many small, inexpensive improvements to this house and it has been a very busy three years of doing so! We have made a lot more changes to the house than shown in this post such as the boy's rooms, walk-in closet built-ins, mud room built-ins, developed our own basement etc. but this blog post is already a mile long so I think I'll cut it off here! If you'd like to see more leave a comment below so I know what you'd love to see from me! Hope you enjoyed the DIY improvements to our house with two chunks!
After photos were taken by Carey Stevens Photography